


Unfortunately we live in an era when cyber crime is on the rise, and more and more people are having their security breeched. So it’s important to do what you can to prevent this these breaches.
Two of the simpliest things you can do with your Office 365 environment, are to enable multi-factor authentication, and also to enforce modern authentication whilst and disabling basic authentication. In this article, we’ll be focusing on the later, as I’m hoping you’ve already enabled MFA.
Things to consider before you get started
- Test first, ideally in a separate tennancy, or at least with a small number of users.
- Always communicate changes of this nature with your users, ahead of the change, so they are aware of potential issues.
- Always log the changes you make, in case you need to reverse or diagnose them.
- Users may have to remove and re-add their accounts in Outlook or on mobile devices.
- Some other software such as Office 2013 does not support modern authentication out of the box. It will require updating to the latest version, and may need a registry change. Even with that, I have seen it still not work.
- Also disable basic authentication for SharePoint online etc.
- Consider also disabling POP3 and IMAP too, unless you absolutely require them.
Installing the Exchange Online Management PowerShell Module
First, you need to make sure you can connect to exchange online via PowerShell. To do this, simply install the Exchange Online PowerShell module following these steps:
- Open PowerShell (as an administrator)
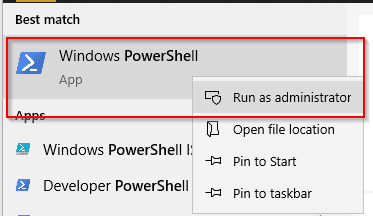
- Run the below command:
Be sure to say yes when asked if you’re asked to allow the installation of NuGet or to trust the repository (it’s a Microsoft Repository).Install-Module -Name ExchangeOnlineManagement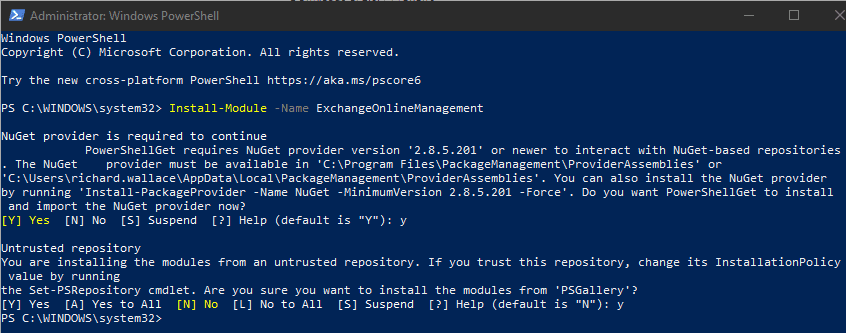


Connecting to exchange online via PowerShell
Now that we have the module installed, open PowerShell (if not still open) and run the below commands, in order:
Connecting to Exchange Online
Make sure you change your username to one in your Office 365 tennancy, which has global admin priviledges.
Connect-ExchangeOnline -UserPrincipalName username@tennantname.onmicrosoft.com -ShowProgress $trueWhen prompted, sign in with that same global admin user.

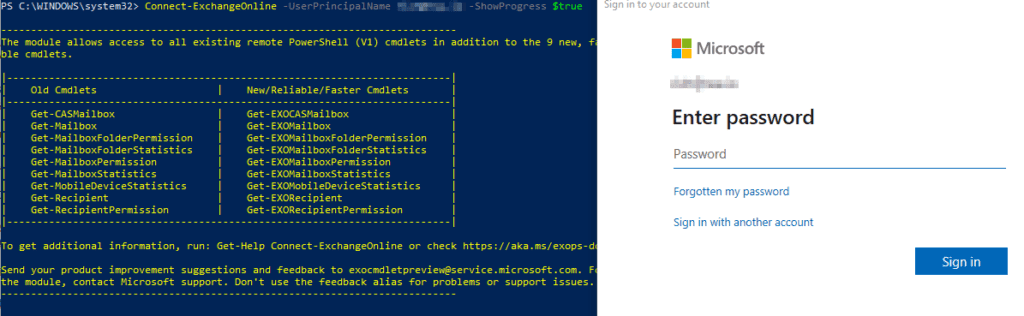
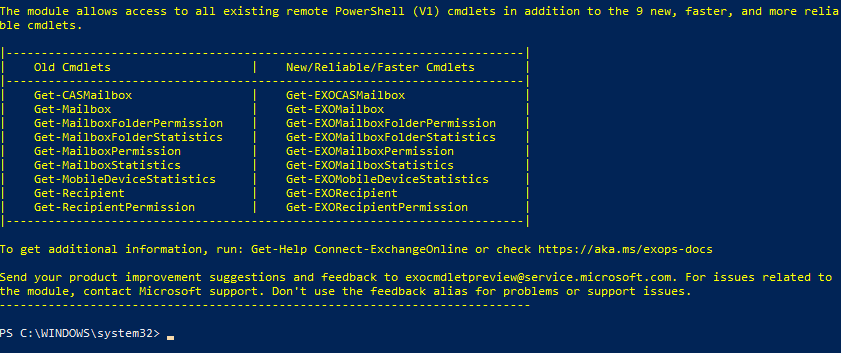
If you see no warning messages and the prompt returns to the below, you are logged in:

Enable modern authentication in your Office 365 environment
Before we can disable basic authentication, we first, we have to enable modern authentication, by running the below:
Set-OrganizationConfig -OAuth2ClientProfileEnabled $true

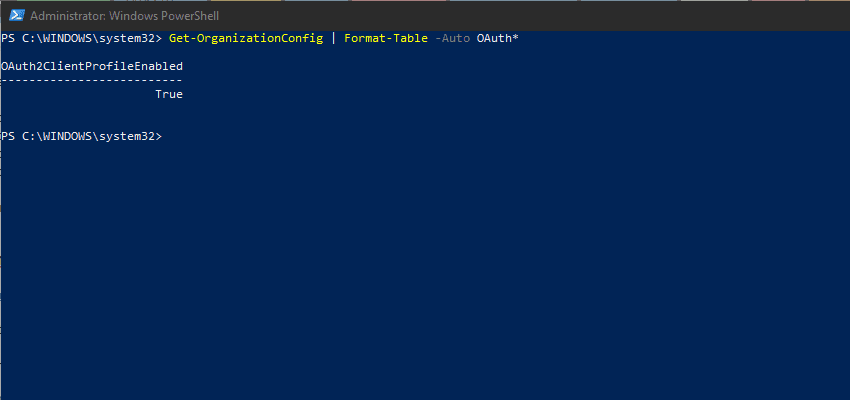
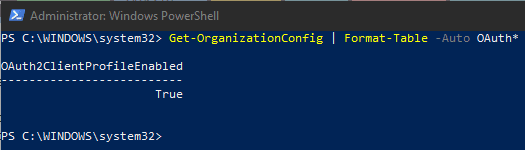
You can verify if it was enabled successfully, or if it was already on, if you see and error, but running the below:
Get-OrganizationConfig | Format-Table -Auto OAuth*
Creating authentication policies, to allow a staged transition rollout to modern authentication
You can go with a big bang approach, and enable/disable basical authentication and enable modern authentication if you wish, but if you have a large number of users, I’d recommend doing it in stages.
To do this, we start by creating a new authentication policy, so you can assign it to users, as you’re ready to switch them over. Just run the below command:
New-AuthenticationPolicy -Name "No Basic Auth"
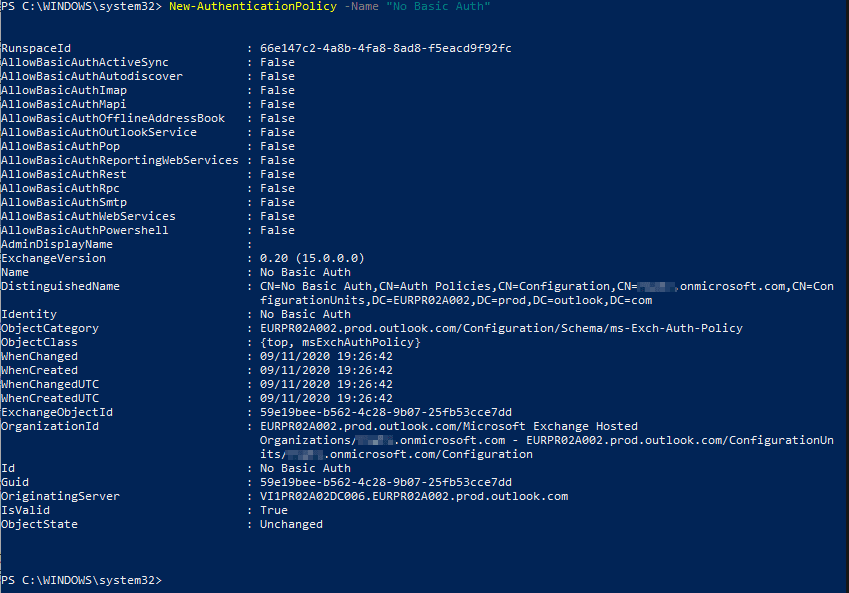
By default, you’ll notice all the AllowBasic* options are set to false, which is how we want them to be.
If you absolutely must allow basic authentication for a user, which I wouldn’t recomment, you could create another group called “Allow Basic Auth” and set those options to true using the below command (changing the runspace to the one you want it to be):
Set-AuthenticationPolicy -Identity "Allow Basic Auth" -AllowBasicAuthPop:$TrueAssigning an authentication policy to a user
When you’re ready to assign the authentication policy to a user, and to block their ability to use basic authentication, run the below command:
Set-User -Identity email@company.com -AuthenticationPolicy "No Basic Auth"

If you see no errors, it has completed as expected. It can take a few hours to replicate through all the Office 365 servers.
Repeat this for all other users. Also keep in mind, that this will affect the authentication on their devices etc. For example, they may have to remove and re-add their account in iOS, if they are using the native email, calendar and contacts apps.
Setting an authentication policy to be the new default
When you have migrated everyone over to the new “No Basic Auth” authentication policy, it’s a good idea to set this as the new default by running the below command:
Set-OrganizationConfig -DefaultAuthenticationPolicy "No Basic Auth"