


If you have a 3D printer without an IP connectivity (e.g. ethernet / wi-fi), but you’d like to gain some remote control and monitoring, then OctoPrint will help you. Essentially, you connect a Raspberry Pi to your 3D printer via a USB cable, and then that enables you to control your printer via a web interface and/or mobile application. For more information on OctoPrint, please visit https://octoprint.org/.
Before you get started, please make sure you have the below:
- Raspberry Pi (ideally a Pi 4B, but the Pi 3B/3B+ will work)
- Micro SD card (minimum 32GB)
- The ability to read Micro SD cards via your computer
Installing OctoPrint and OctoPi
Step 1
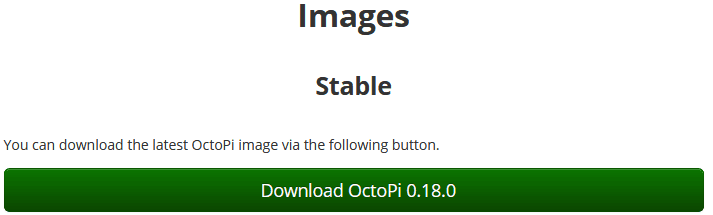
Download the OctoPi image from https://octoprint.org/download/

Step 2
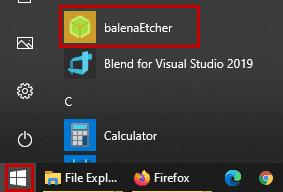
Download and install the Etcher application from the Balena website.
Step 3
Connect your Micro SD card to your computer, but do not format it if you’re prompted to do so.
Step 4
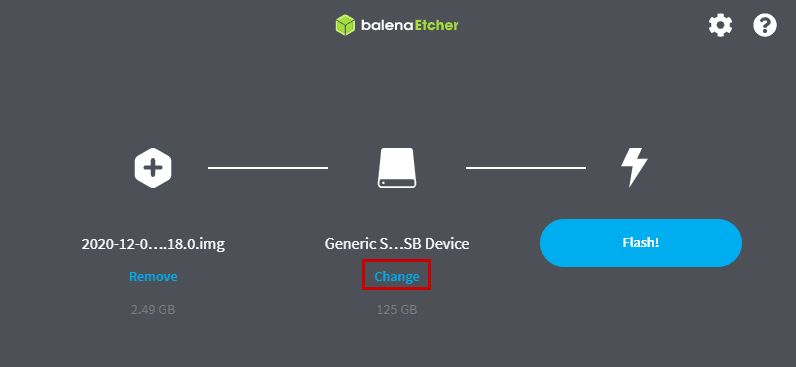
Run Etcher

Step 5
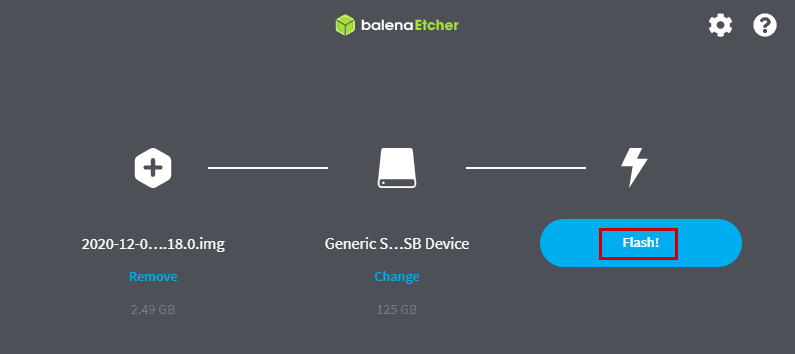
Click ‘Flash from file’, and select the OctoPi image that you downloaded in step 1.


Step 6
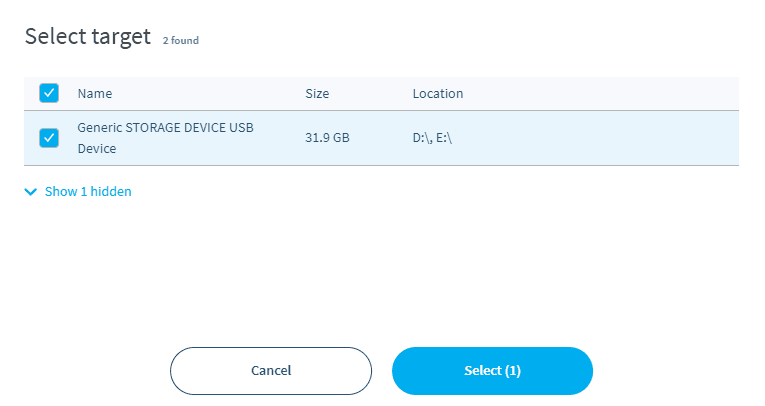
If your Micro SD card is not selected in the middle section, click change, and select it.


Step 7
Click the ‘Flash’ button, and wait until it’s completed installing.

Step 8
If asked if you want to allow changes to be made to your computer, select ‘Yes’.
Step 9
Wait for the installation to complete, it can take a little while, depending on the speed of your card.


Step 10
When the installation has finished, visit http://octopi.local in your browser to start using OctoPrint.