


If you have UniFi devices, but don’t have one that runs the network controller software, you can install it in a docker container on a Raspberry Pi.
This process should be pretty similar, regardless of the device, so long as you have Docker installed, but this image is specifically designed for the Raspberry Pi.
Prerequisites
You will need Docker installed on your Raspberry Pi.
Review the UniFi network controller containter image information, make sure you have a compatable Raspberry Pi, and familiarise yourself with what’s in the image and any changes that might have been made since this article was made.
Install Docker Compose
To check if you have Docker Compose installed, run the below command in a terminal window:
docker-composeIf you see the below response, run the below command to install Docker Compose:


sudo apt-get -y install docker-composeFind your UID and GID
You’ll need your UID and GID, which will be usered in the command in the next step. To find these, presuming you’re using the default pi user, run the below command:
id pi

If you see the below response, run the below command to install Docker Compose:
sudo apt-get -y install docker-composeFind your UID and GID
You’ll need your UID and GID, which will be usered in the command in the next step. To find these, presuming you’re using the default pi user, run the below command:
id piIf you see the below response, run the below command to install Docker Compose:
sudo apt-get -y install docker-composeCreate a UniFi Docker Compose Manifest
Create and navigate to a new folder using the below commands in a terminal window:
mkdir /home/pi/unifi
cd /home/pi/unifi

Create a new file using the below command:
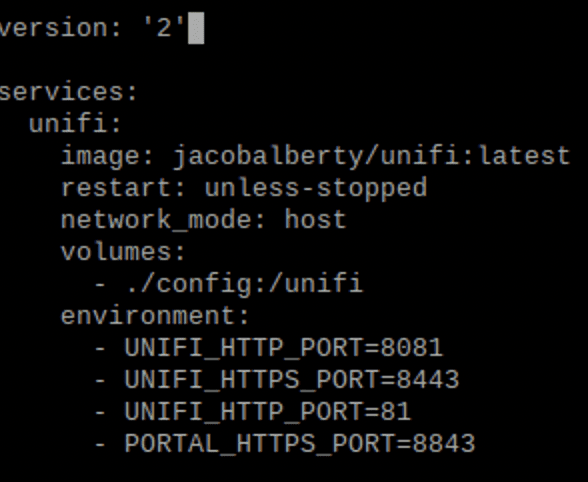
nano docker-compose.ymlUpdate the below with your preferred ports, I’m using 81 and 8081 instead of the default 80 and 8080, as I already have services using those ports, and then paste it into the new file you created:
version: '2'

services:
  unifi:
    image: jacobalberty/unifi:latest
    restart: unless-stopped
    network_mode: host
    volumes:
      - ./config:/unifi
    environment:
      - UNIFI_HTTP_PORT=8081
      - UNIFI_HTTPS_PORT=8443
      - UNIFI_HTTP_PORT=81
      - PORTAL_HTTPS_PORT=8843
Press CTRL + X to close the editor


When prompted about saving the changes, press Y for Yes.


Press enter, without changing the file name.


You will return to the terminal window after the updates are saved.
Install UniFi network controller in a docker containter
In the same folder as your newly created docker-compose.yml file, as detailed above, run the below command to create a UniFi Docker container:
docker-compose up -d-d is used to set the container to run as a background process.
You’ll see it start to download the files and install them, please be patient.

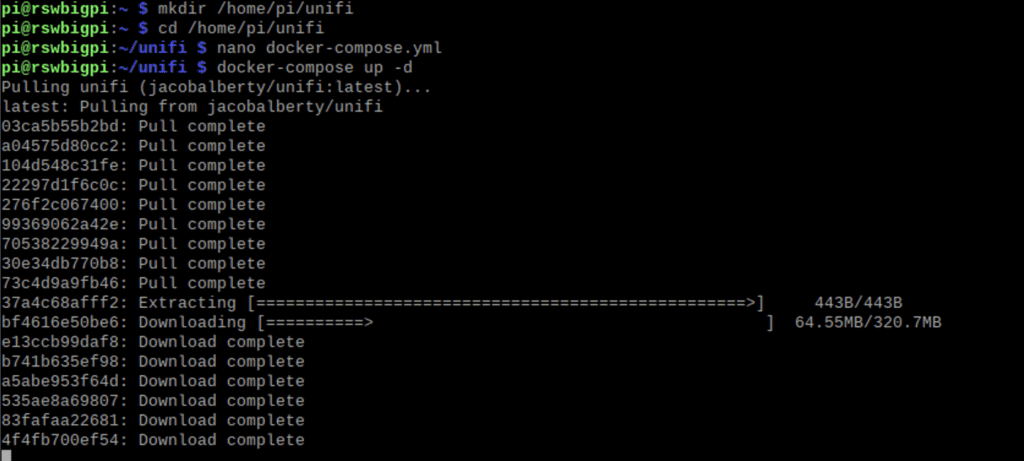
When you see the below, the UniFi Docker containter is installed.


View your Docker containers
You can view your containers by running the below command:
docker psIf you don’t see your containter, try appending an -a to show all containers, even those not running.
docker ps -a

If everything is running, you can now start using UniFi by browsing the admin portal:
http://servername:81
Remember to use the port you put in the config, the default is 80, but I used 81 for this install.
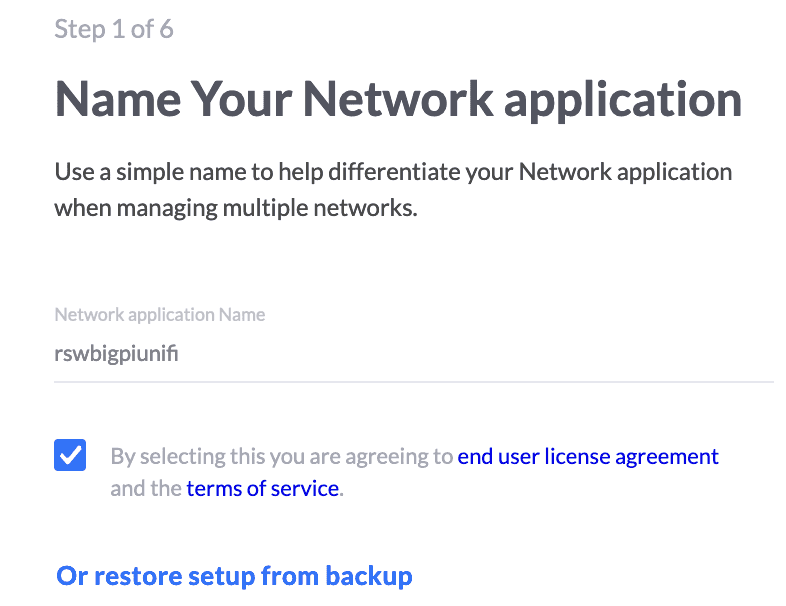
Setting up the UniFi network controller
1) When you first visit the link above, you have to name you instance of the UniFi network contoller. For this example, I’m calling it rswbigpiunifi, which is a combination of the host device and an identifier for this software. Review and agree to the terms, and then click ‘Next’.

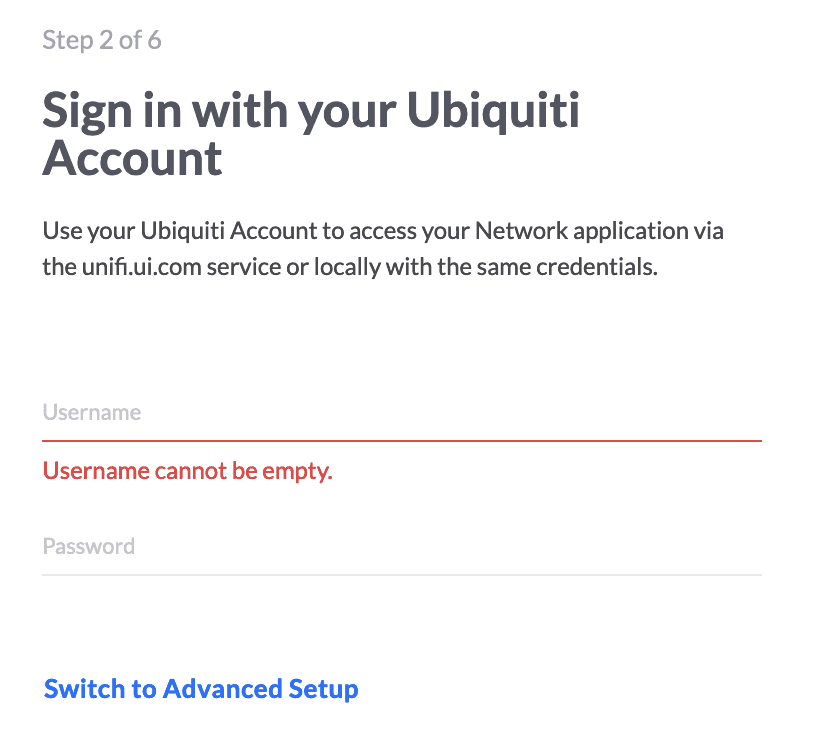
2) Sign in with your UniFi account and click ‘Next’

3) Decide if you want backups on or off, and click ‘Next’


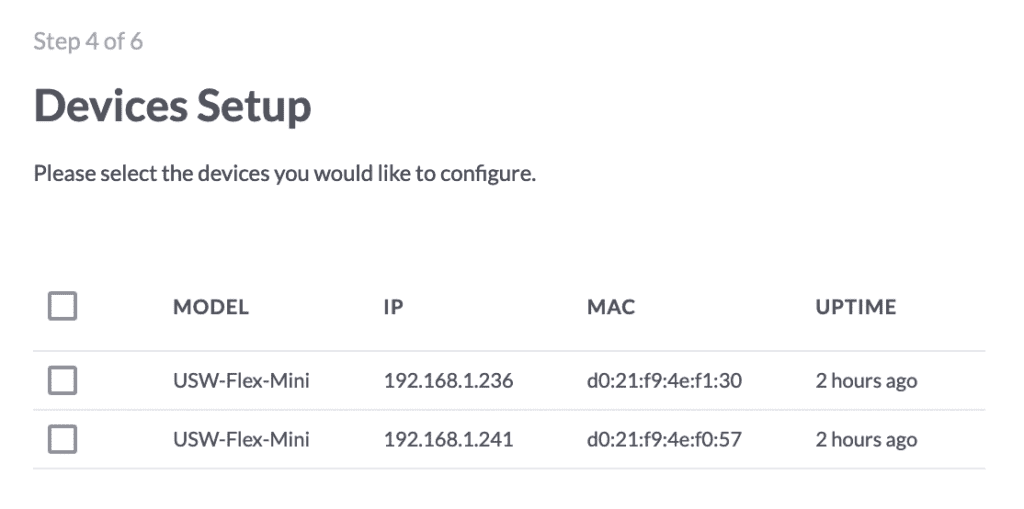
4) If you already have any UniFi devices active on your network, you’ll see something like the below. You can select them and configure them, or just click ‘Next’ to finish setting up the network controller.

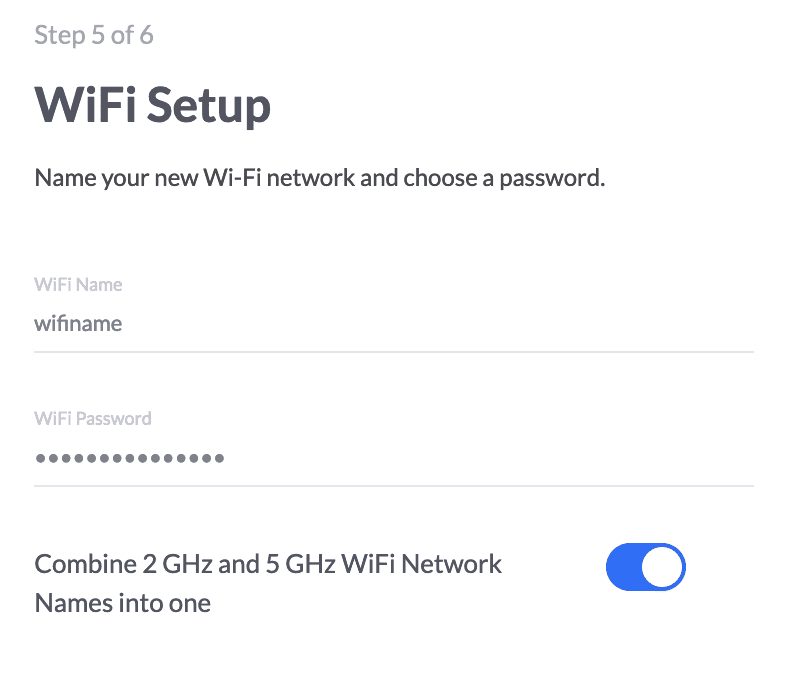
5) Setup a wireless network and click ‘Next’, if you don’t plan on using UniFi wireless devices, click ‘Skip’.

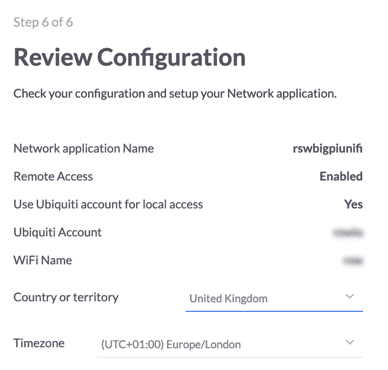
6) Set your country and timezone, then click ‘Finish’.

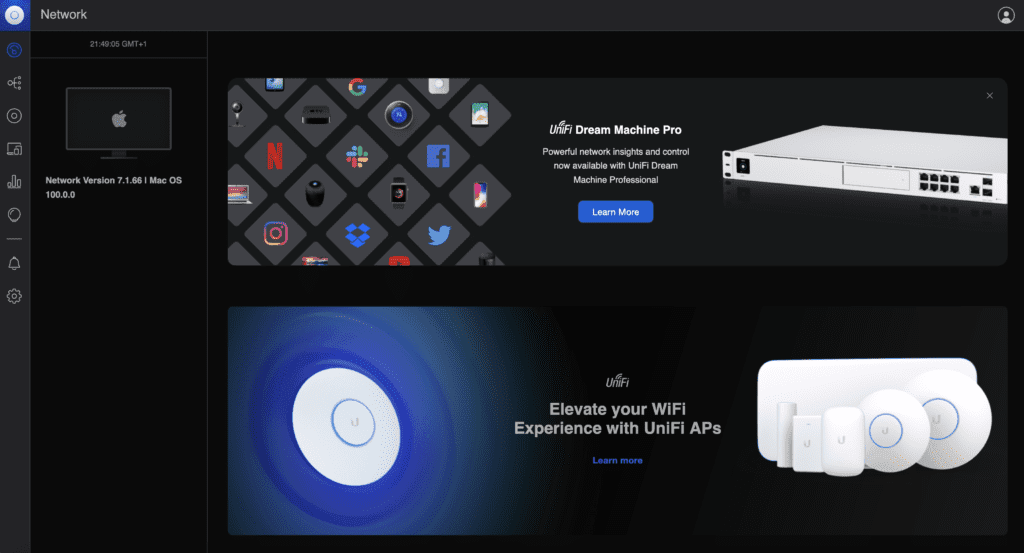
When done, you will be redirected to the :8443 url, and because you don’t have a certificate setup, you will have to trust the certificate to proceed. When you do, the login screen will look like this:

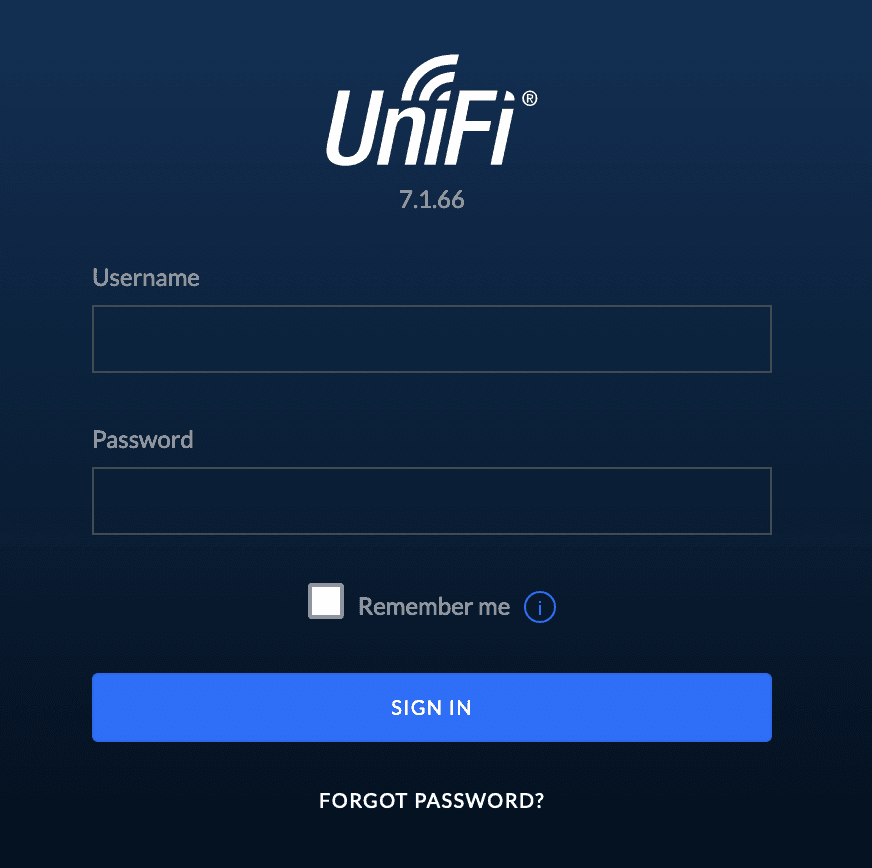
I won’t go into any more detail, as this article was just about installing the UniFi network controller in Docker on a Raspberry Pi.