If, like me, you want to set your computer to hibenate, instead of sleep, you’re probably annoyed that this option is not on by default. Sleep has it’s place, but it still uses power.
Thankfully though, it can easily be enabled, by following the below steps:
These steps have been created on a Windows 10 machine, but it will work on Windows 7, 8 and 8.1 also.
- Select the ‘Start’ menu
- Type ‘cmd’, and when you see ‘Command Prompt’, right click on it and select ‘Run as administrator’

You will also need to select ‘Yes’ on the User Account Control screen that will appear. - Type ‘powercfg.exe /hibernate on’ (without the quotes) and press enter

- Close the ‘Command Prompt’
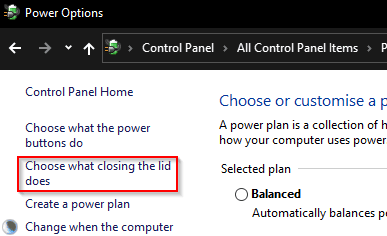
- Open the ‘Control Panel’, and navigate to ‘Power Options’
depending on your view, it may be in ‘Hardware and Sound’ - Select ‘Choose what closing the lid does’
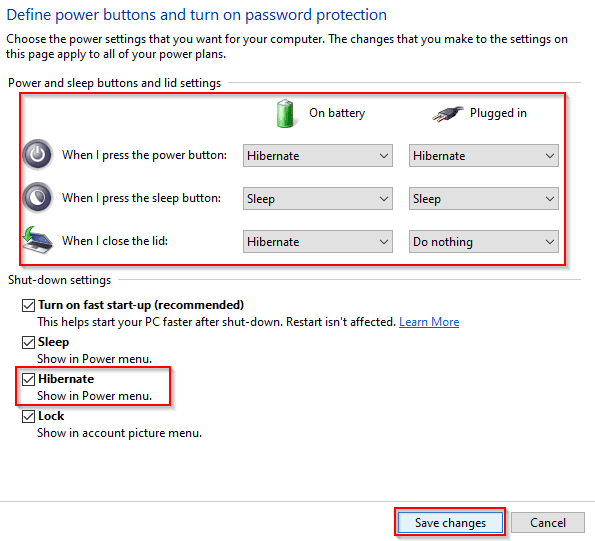
- Select ‘Change settings that are currently unavailable’

- Select what you want to happen when the lid is closed, buttons pressed etc, when on power and battery. Then tick ‘Hibernate’ and click ‘Save changes’
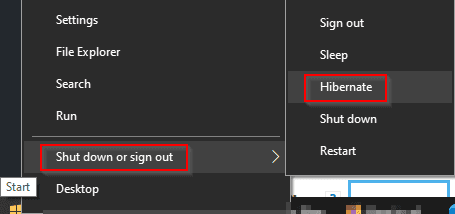
You will now see the hibenate option is available for you to manually hibenate your computer, in addition to closing the lid etc.