

Home Assistant is an open-source home automation platform that allows you to control and automate various aspects of your home. It can integrate with a wide range of devices and services, such as lights, thermostats, security systems, and more. With Home Assistant, you can create automations and scenes, access your home from anywhere, and get notifications when things happen. While it is a powerful tool to have, it is important to understand that there is a learning curve and some setup costs involved in getting started with Home Assistant.
Another benefit to Home Assistant, is that it can act as a HomeKit bridge for devices that aren’t supposed to be HomeKit compatible. For example you can link your Nest thermastat and cameras to Home Assistant, and see and operate them in the Home app on your iPhone, iPad, Apple TV or via a HomePod.
Home Assistant installation instructions
To install the Home Assistant and its own OS, which I’d recommend, so you get supervisor version, which will allow you to setup HACS (Home Assistant Community Store). HACS has a lot more applications and modules that you can install to expand your Home Assistant setup. For example, there is a Pod-Point integration that will allow you to both see the status of your EV charger, and to control it. There are many more for EV’s, TP-Link devices etc.
Now lets get started. These instructions are for installing Home Assistant OS on the Raspberry Pi.
1) Connect the SD card to you computer, for this tutorial I will be using a Mac, but it works fine on Windows too. But since Home Assistants own instructions work for Windows, I’d recommend you follow those. Home Assistant Raspberry Pi installation instructions via Windows.
2) Download and install Balenca Etcher and then open it. Note that Apple Silicone isn’t officially supported or listed as working, but for me, using version 1.13.1, it did work.
3) Find the github repository from the home-assistant.io, and copy it, making sure you select the version that matches your Raspberry Pi model.
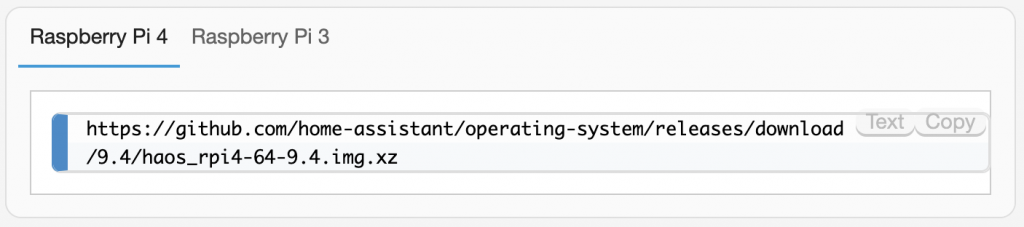
For this tutorial, I’m installing on a Raspberry Pi 4, so have copied that URL.
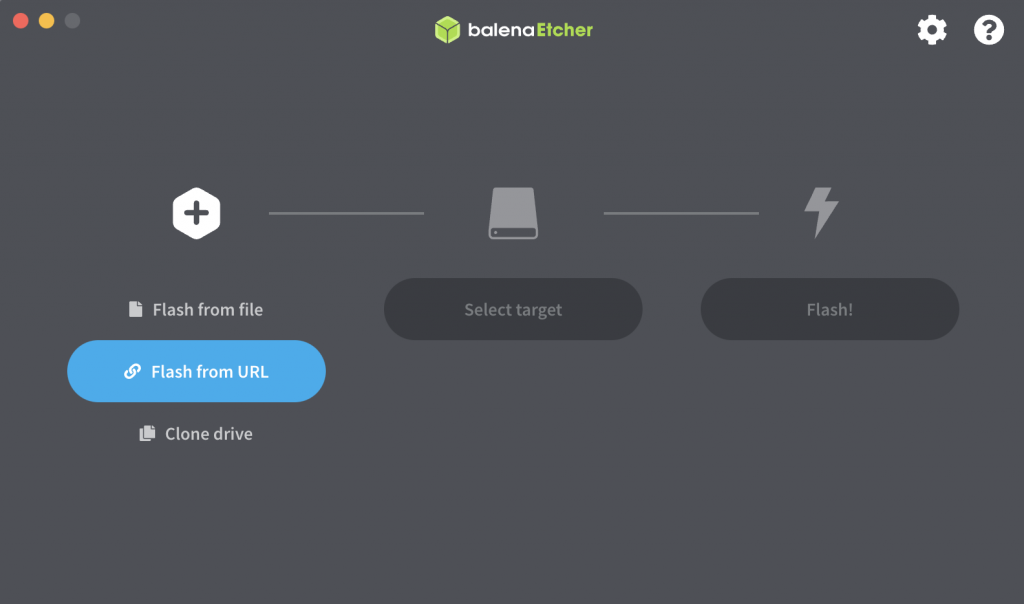
4) Return to the Ether app and select ‘Flash from URL’.
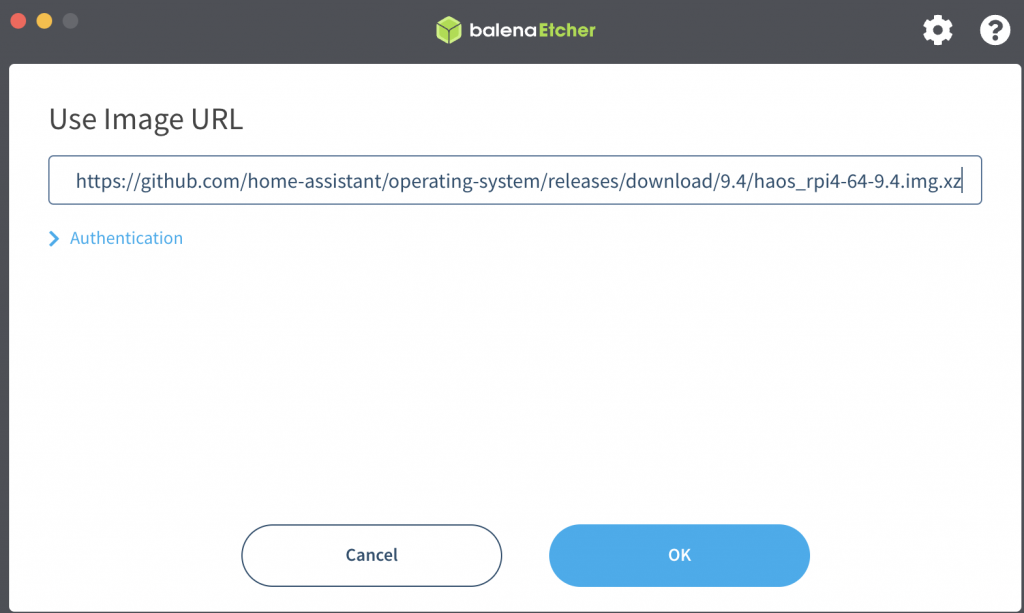
5) Paste the URL you juse copied and select ‘OK’.
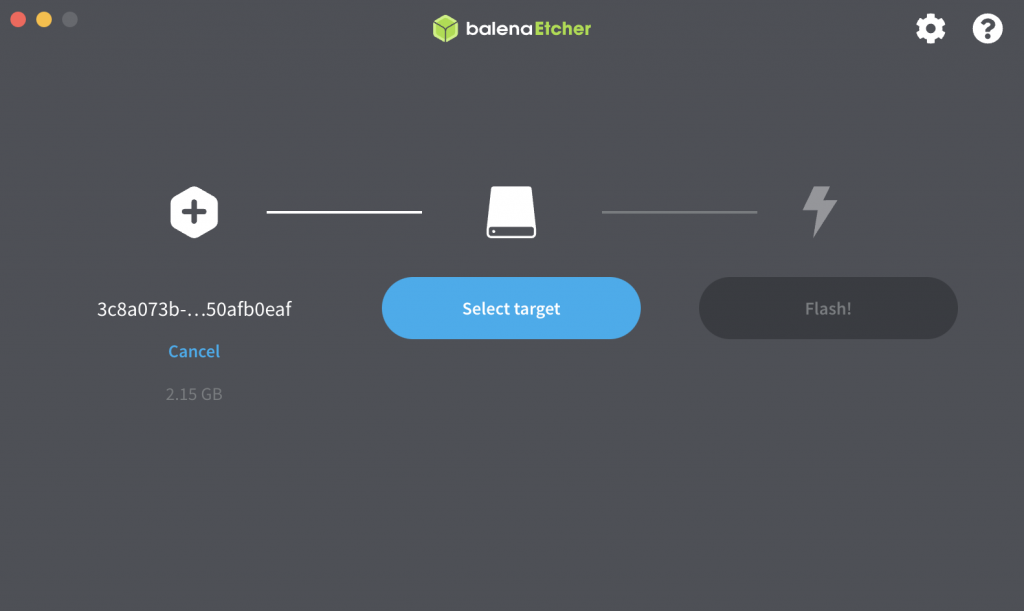
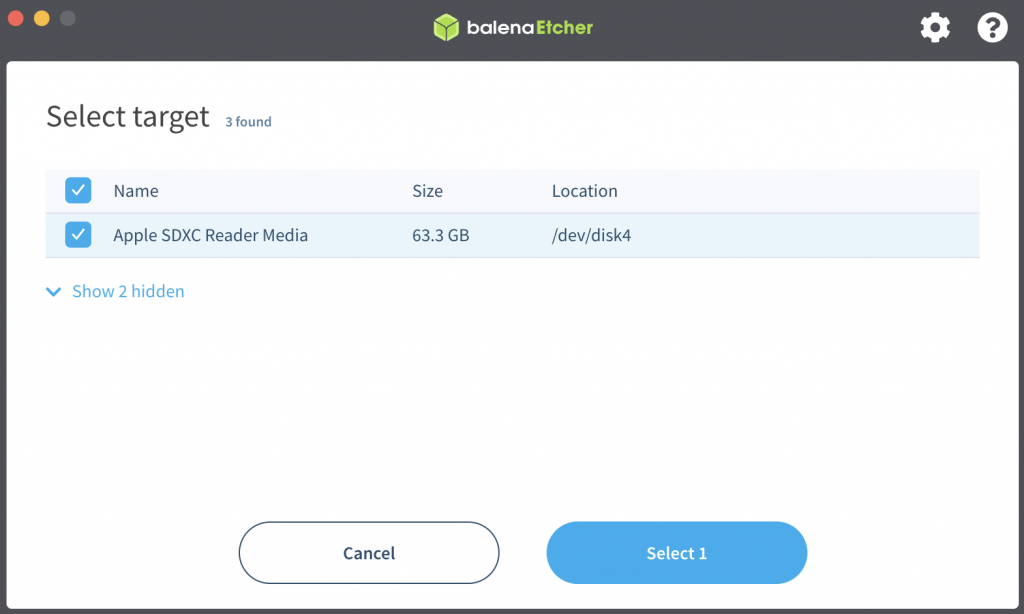
6) Click ‘Select target’.
7) Select your SD card from the list and click ‘Select 1’.
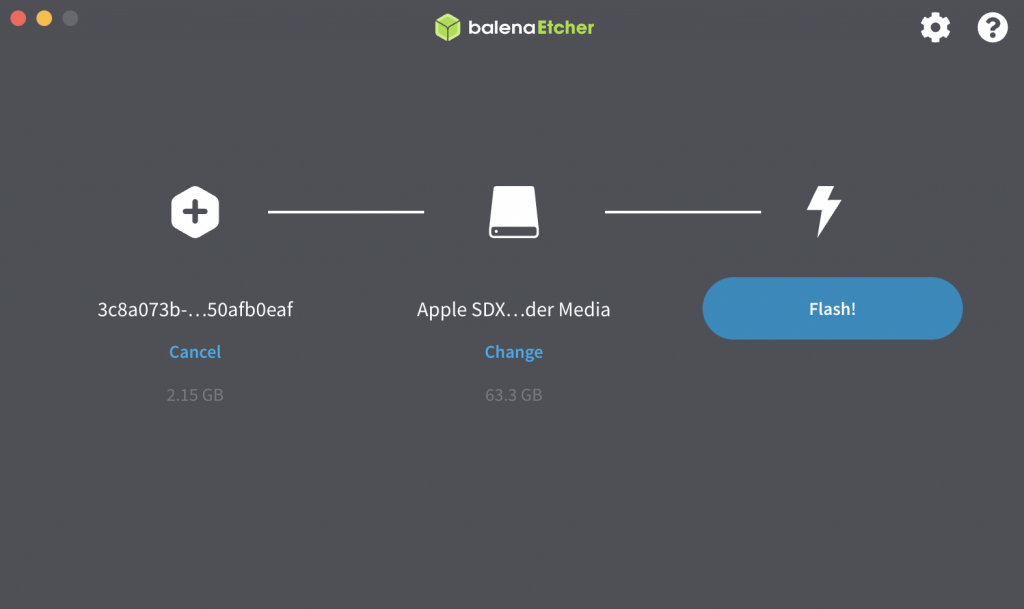
8) Click ‘Flash!’.
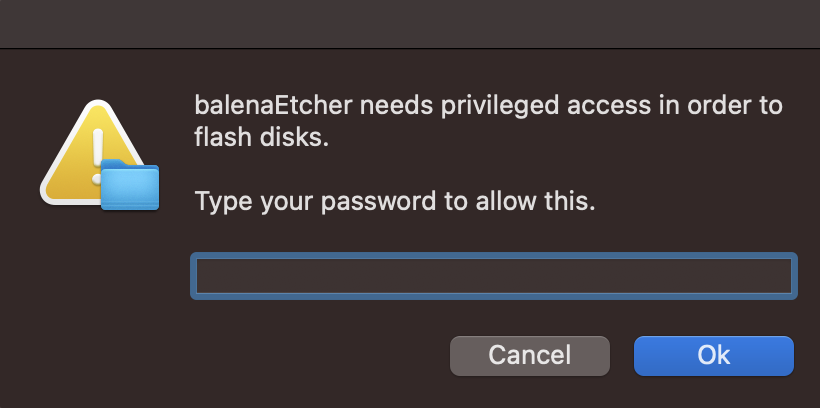
9) If prompted to allow priviledged access to the SD card, enter your password and click ‘OK’.
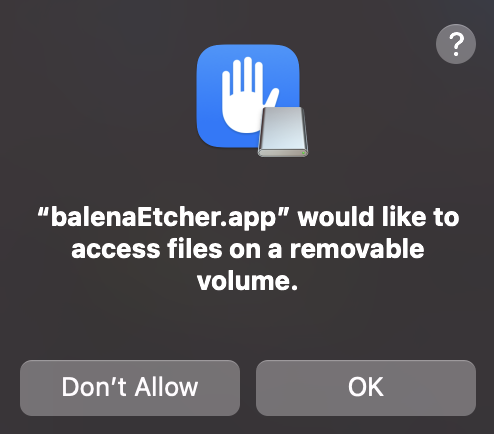
10) If prompted to allow Etcher access to the files on the removable volume, select ‘OK’.
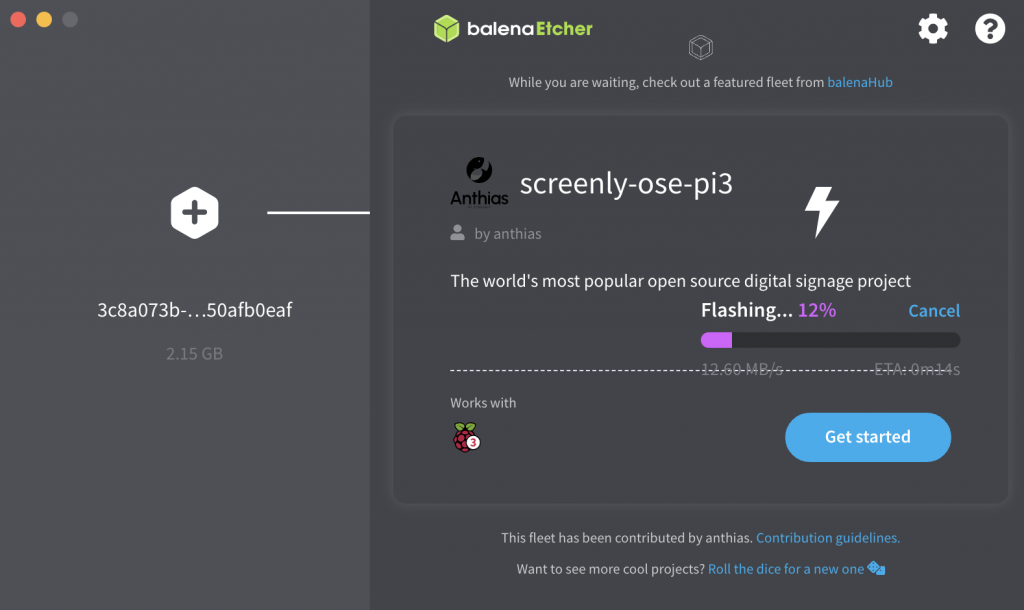
11) You should see it progress, as per the below screenshot.
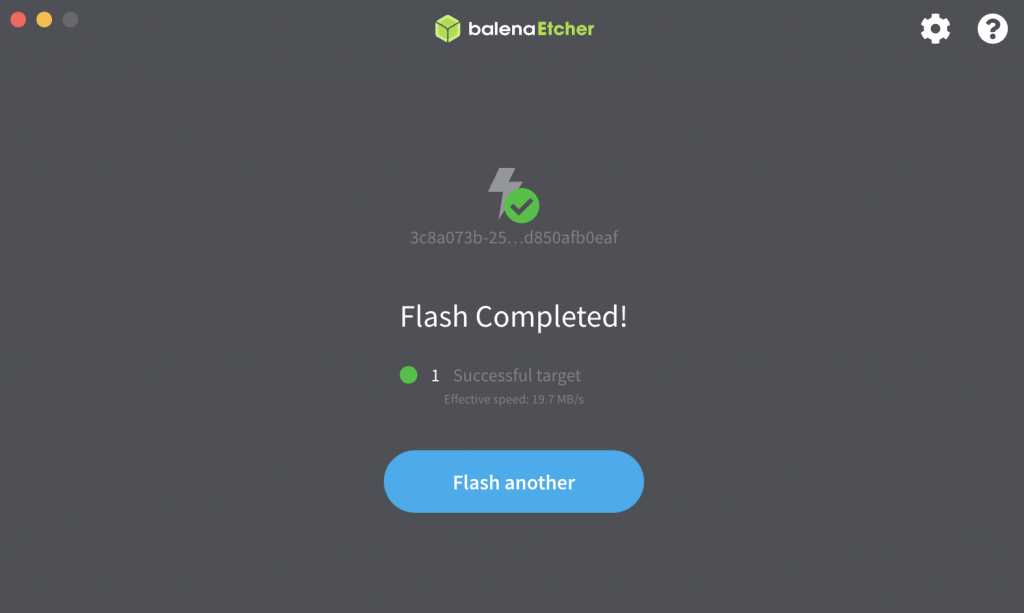
12) When done, you will see a confirmation, as per the below screenshot.
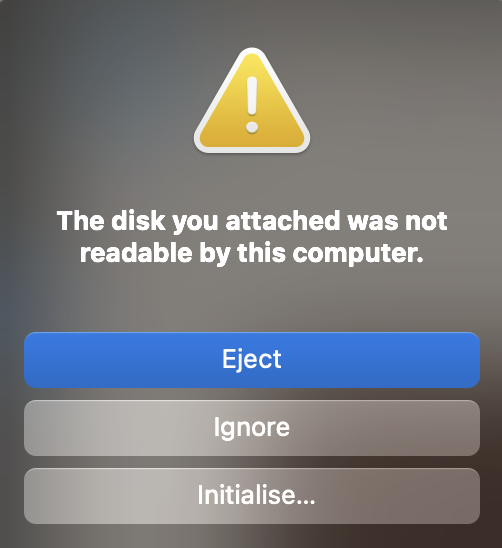
13) Then you will be presented with this option, select ‘Eject’.
14) Insert the SD card into the device on which you want to run Home Assistant OS.
15) Power on the device and follow the on-screen instructions to complete the initial setup.
Please note that the specific instructions may vary depending on the device you are using. It is recommended to check the official documentation for more information.
I will work on a configuration guide in the coming weeks.