This article will help you to link your iPhone to your Windows 10/11 computer, so you can make calls, send / receive iMessages and sync you calendar etc from your computer.
For a while now, the phone link application has been limited to Android devices only, but now Microsoft have rolled out iOS support.
Downloading Phone Link for iOS on Windows 10/11
The Phone Link is installed by default, but if you open it, it talks about setting up your Android device. To change this, you need to download the Phone Link app from the Microsoft Store, as shown below:
1) Open the ‘Microsoft Store’ app

2) Search for ‘Phone Link’
3) You will see both ‘Open’ and ‘Get’ or ‘Update’ buttons, click either ‘Get’ or ‘Update’

4) When the app is installed or updated, click ‘Open’
Downloading the Link to Windows App on you iPhone
To install the ‘Link to Windows’ app on your iPhone, follow the below steps:
1) Open the ‘App Store’
2) Search for ‘Link to Windows‘ and install it
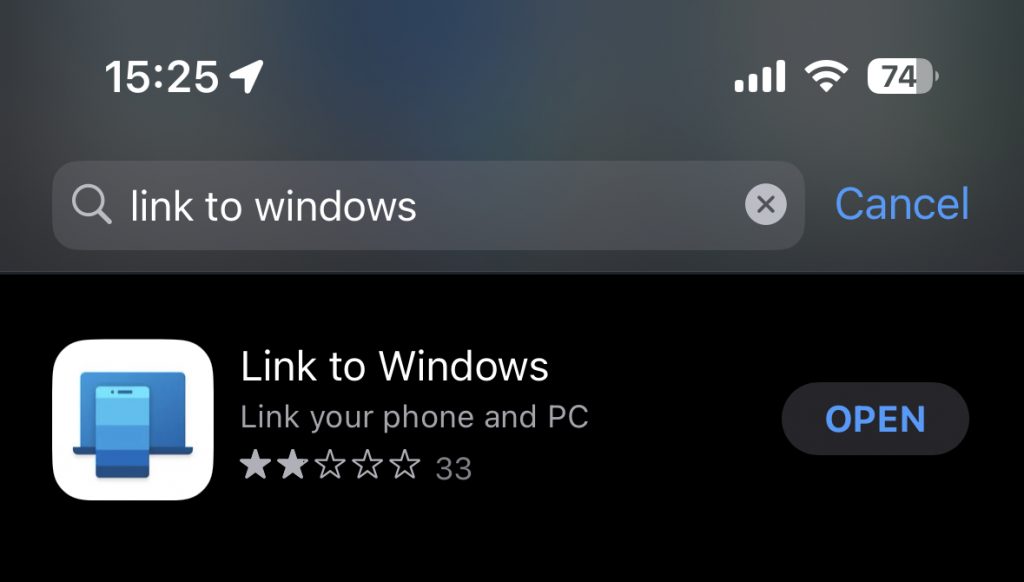
3) Open the ‘Link to Windows’ app
Connecting your iPhone / iOS device to Windows 10/11
To connect your iOS device to your Windows 10/11 computer, follow the below steps:
1) Open the ‘Phone Link’ app

2) Click the ‘iPhone’ button

3) You will now see a QR code on the screen
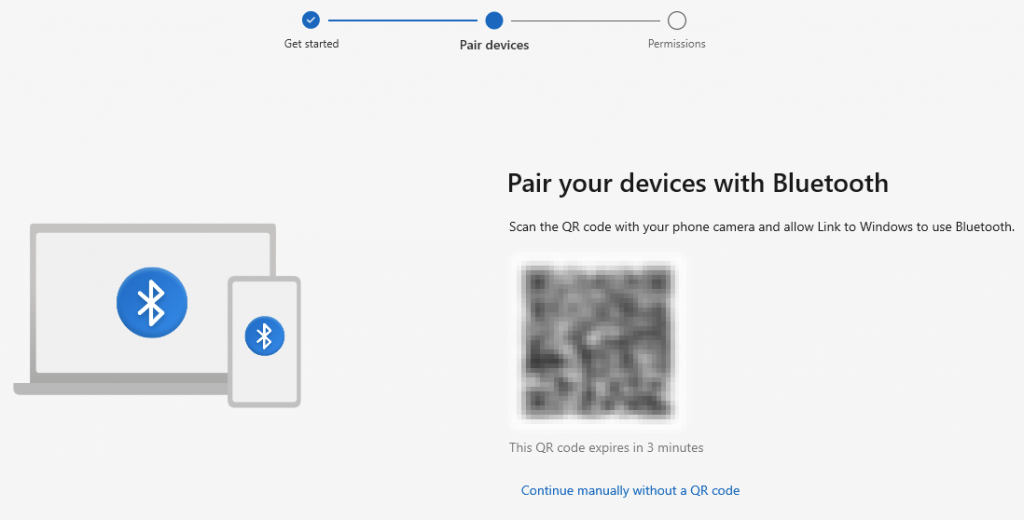
4) Open the ‘Link to Windows’ app on your iPhone
5) Scan the QR code
6) Select ‘Continue’ to allow pairing via Bluetooth
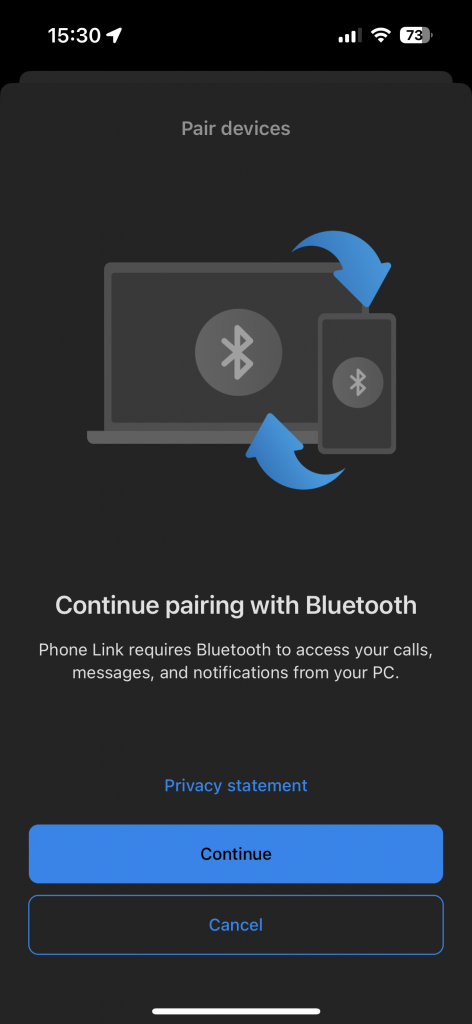
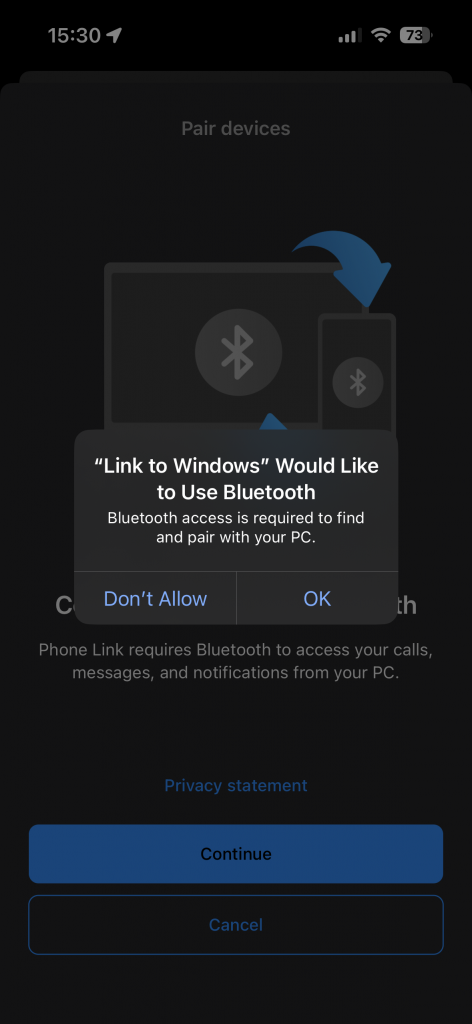
7) Select ‘OK’ to allow the ‘Link to Windows’ app to use bluetooth
8) Check that the PIN is the same on the iPhone and computer and select ‘Pair’
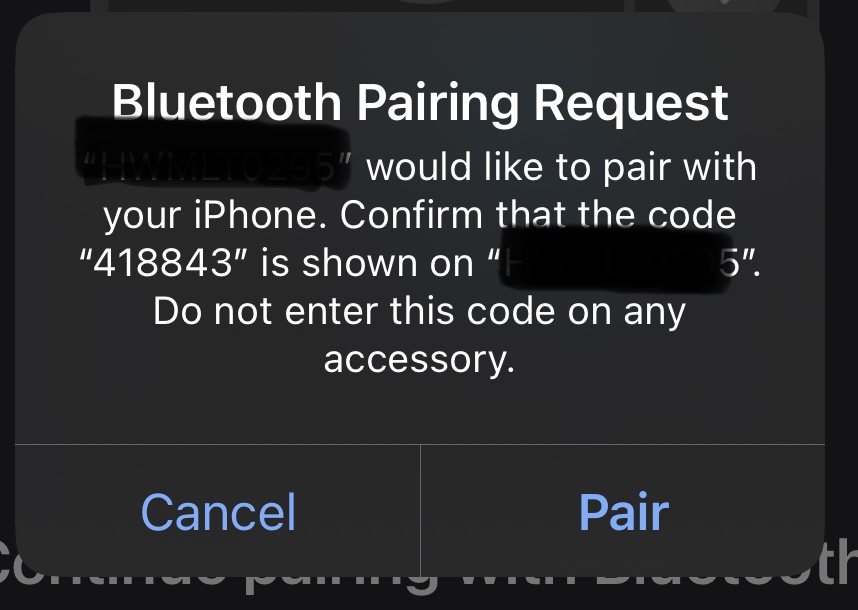
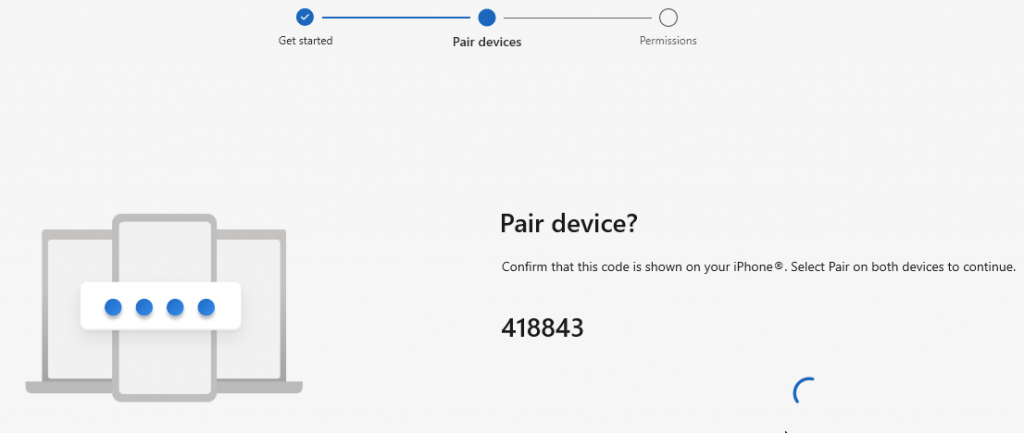
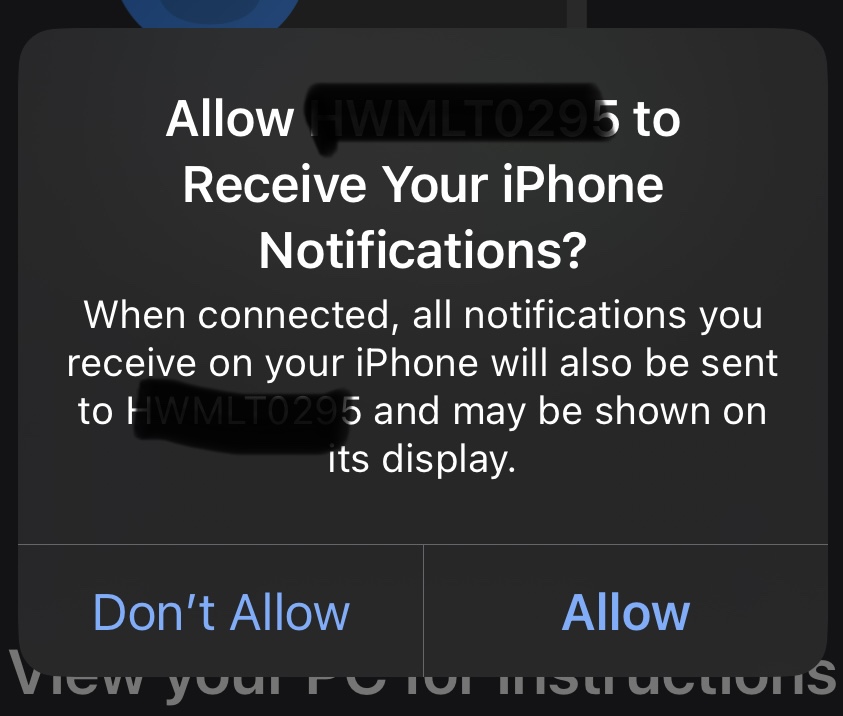
9) Allow your computer to receive notifications from your iPhone
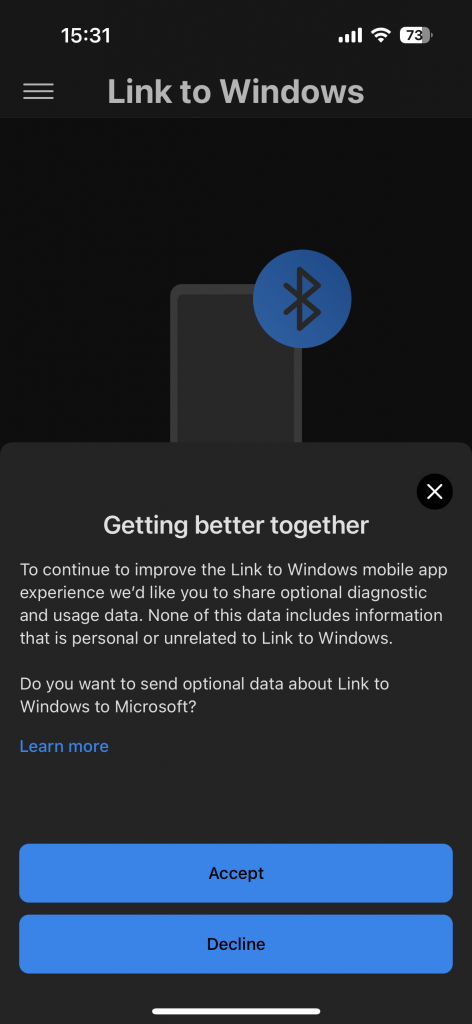
10) Decide whether to allow or decline helping make the app better
11) On your computer, click ‘Continue’ to proceed with the setup

12) Click ‘Continue’

13) Decide if you want the ‘Phone Link’ app to load with your computer and click ‘Get started’

14) You will see something like this when done
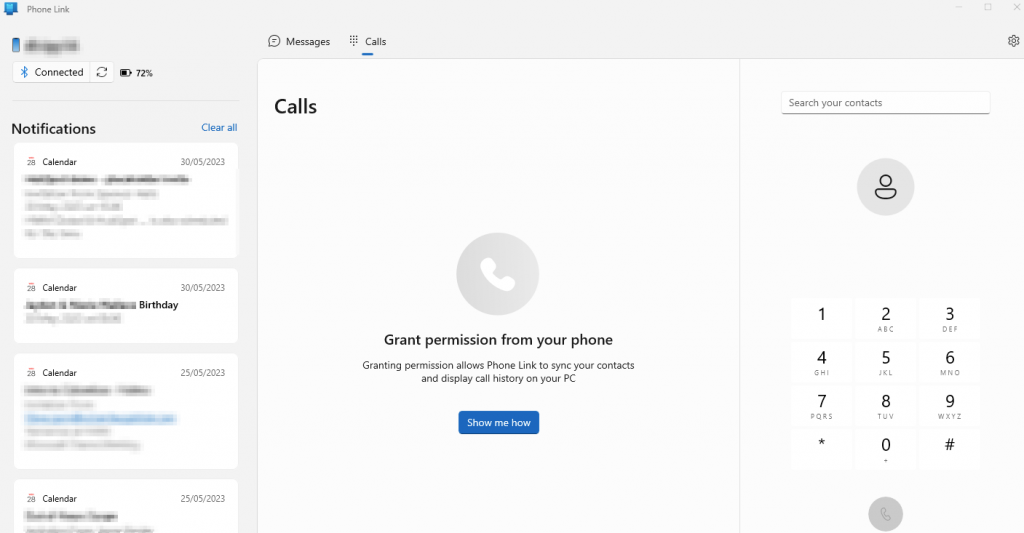
When you grant the permissions, it will list your call history etc too.
