If you know what Telnet is, and you’re reading this, then I’ll save you the spiel about what it is, how to use it or even why to use it. I’ll just get into how to enable / install it in Windows 11, and this works in Windows 10 too.
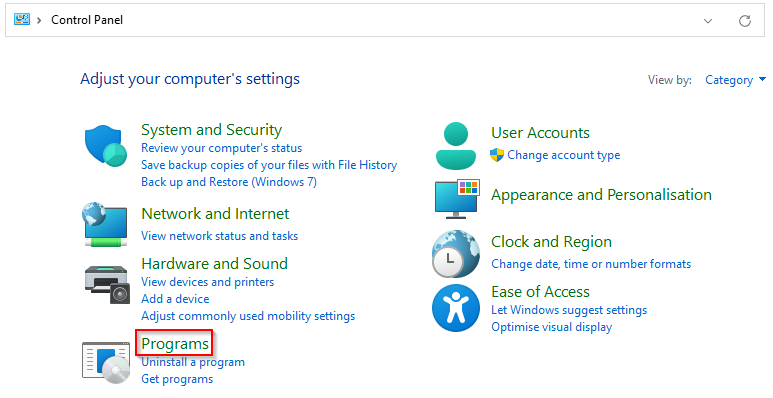
1) Open the Control Panel

2) Select ‘Programs’
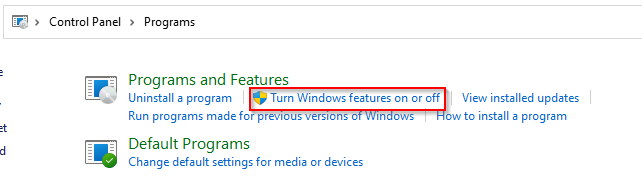
3) Select ‘ Turn Windows features on or off’
4) Scroll down and select ‘Telnet Client’ and click ‘OK’
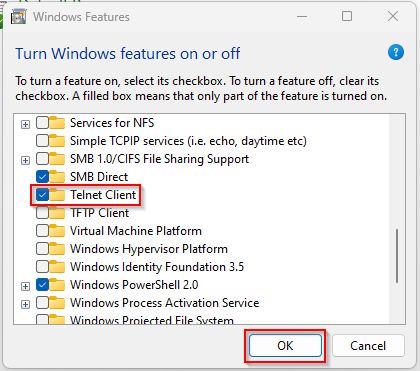
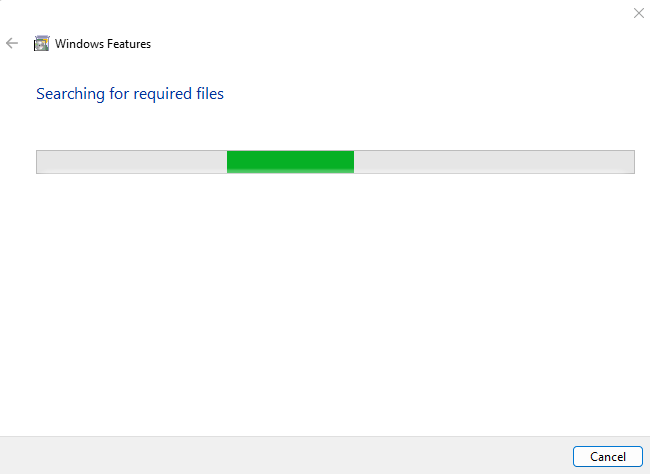
5) You will see a screen like this as it installs
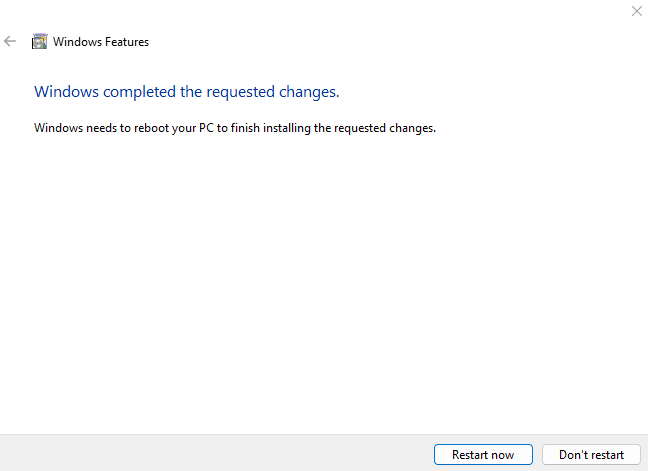
6) When prompted to restart, select ‘Restart now’ or you can opt not to, and do it later
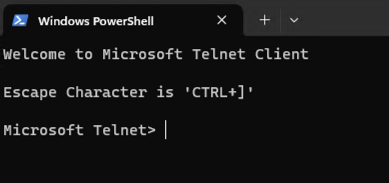
After restarting, you can use the Command Prompt, PowerShell or Windows Terminal to use Telnet, and I’m presuming you know how to use it already.