

If you’ve just installed Pi-hole, this article will help you with changing some of the default settings and improving what gets blocked.
It’s important that you do not change the DNS settings on your DHCP server / router straight away, and test with just one device first.
Logging into Pi-hole
To login to Pi-hole, you need to visit the below URL, but make sure you replace ‘servername’ with the name or IP of the server running Pi-hole. If you changed the port number during the install, you will need to add that too, but I’m presuming you left it as the default.
http://servername/admin
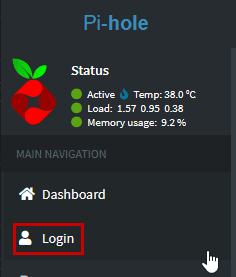
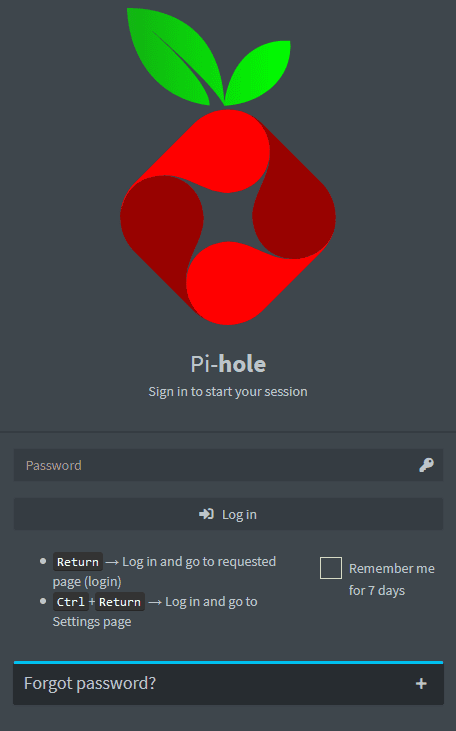
Select ‘Login’ from the menu on the left, and enter your password. If you set a password during the install, please use that. If not, a random password should have been provided to you at the end of the installation.
Basic Pi-hole settings
Lets start by changing some of the basic Pi-hole settings.
Activate dark mode
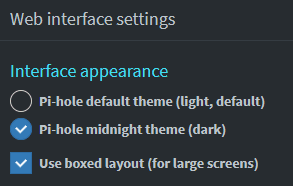
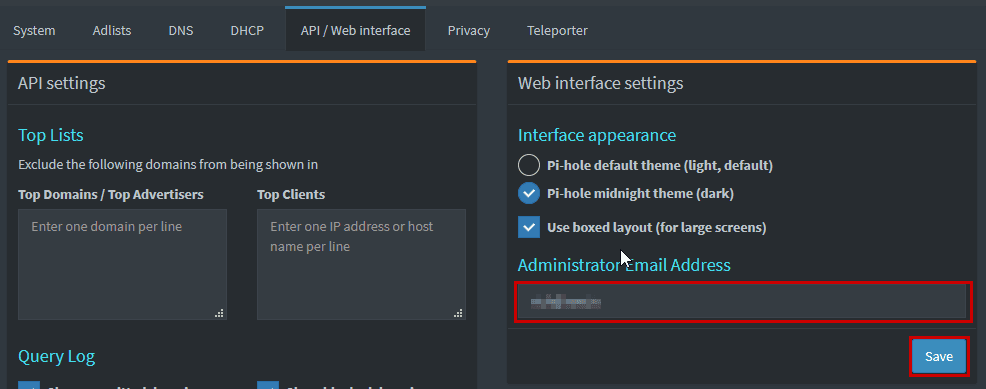
I like my interfaces to run in dark mode, as you’ll have already noticed from the screenshots. To activate it, simply navigate to Settings > API / Web interface, select ‘Pi-hole midnight theme (dark) and click ‘Save’.
Setting the upstream DNS server for Pi-hole
This setting tells Pi-hole where to look for the DNS data, as Pi-hole is a middle-man, for want of a better description. It passes the requests on, for those that are not blocked.
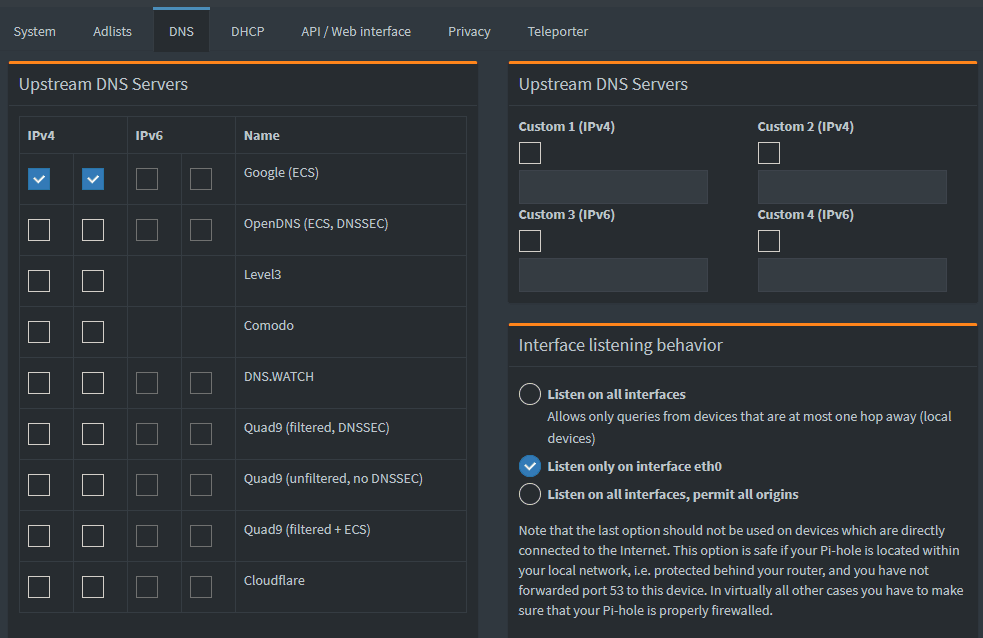
Navigate to: Settings > DNS and either tick your preferred options, or enter your own DNS servers. For this example, we’ll use the Google DNS servers, which are 8.8.8.8 and 8.8.4.4.
You’ll see further down the page, there are more settings you can configure, buy the only one I recommend changing is the conditional forwarding. To enable it, tick ‘Use Conditional Forwarding’ and add the information it asks for.
Local network is your local subnet, to work this out, look at the IP address and subnet mask of your connection. In most cases, this basic formular should word for you. Take your IP (e.g. 192.168.0.10) and change the characters after the last full stop to a zero (e.g. 192.168.0.0). Then if you subnet mask is 255.255.255.0, append /24 (e.g. 192.168.0.0/24).
IP address of your DHCP server (router) is what you think it is, the IP address of your router (e.g. 192.168.0.1).
Local domain name can be left blank, but some routers such as BT Home hubs etc use home, which makes each devices address become computername.home. In this example, we’ll use local.
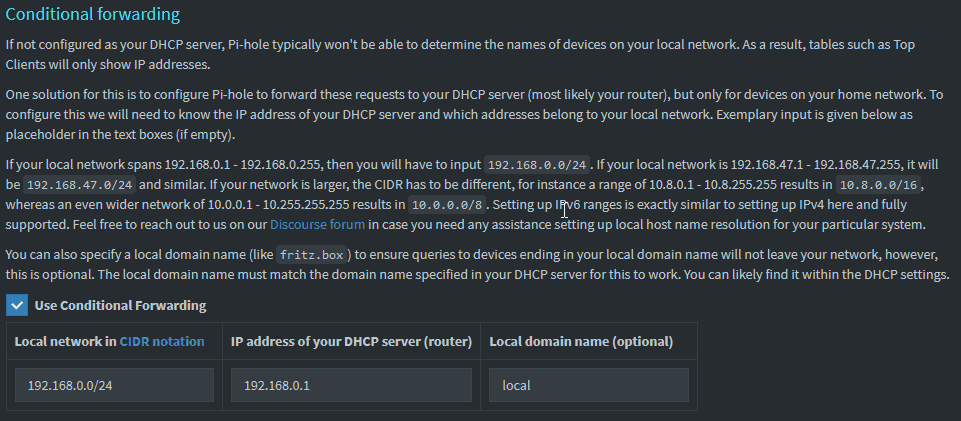
Now click ‘Save’
Add your email address to Pi-hole
To save you getting locked out, and having to start again, it’s best to add an administrator email address. To do this, navigate to Settings > API / Web interface, enter your email address and click ‘Save’.
Add existing blocklists to your Pi-hole setup
Now if you want, you can create different groups, and have different block lists for each category, but for this guide, we’ll use a single group for all.
Find a good source for your block lists, this ones seems good:
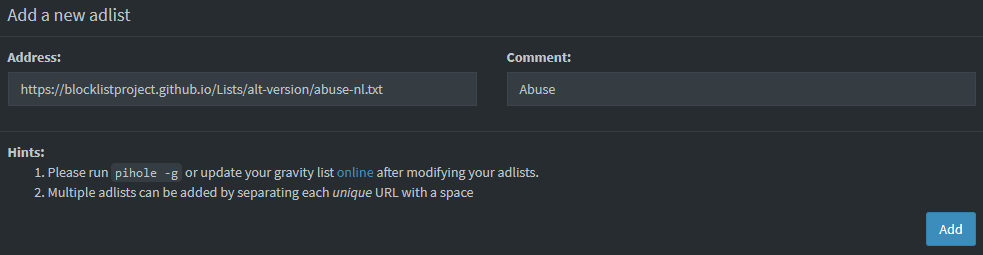
Login to the Pi-hole admin area and navigate to Group Management > Adlists.
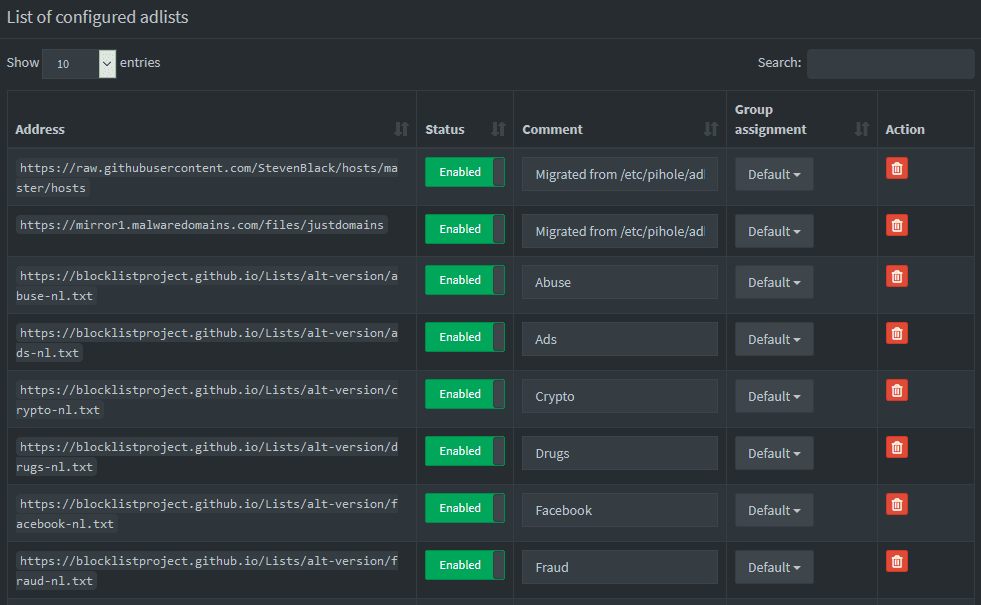
Then, using the lists in the above shared link, enter them on the Adlist group management page, as shown below. Clicking ‘Add’ after each one:
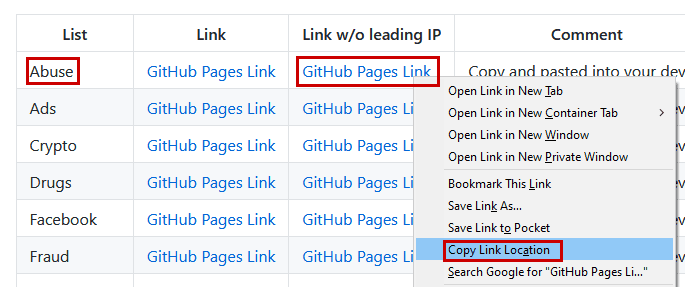
To get the URL, right click on the ‘GitHub Pages Link’ under the ‘Link w/o leading IP’ column, and select ‘Copy Link Location’. I’ve used Firefox to do this, but other browsers have similar functionality.
When you’ve added them all, it should look like the below and you can assign to groups, if you decide to, and / or disable them. This could be useful if you decide to stop blocking a category in the future.
Configure a device to use Pi-hole for your DNS
To test this, I recommend just setting up a single device to use your instance of Pi-hole as it’s DNS. But before you do, make sure your Pi has a static IP, or your router has a reservation so it always has the same IP.
You can normally change the DNS server/s by visiting the wifi or network settings on your device. For example, on an iPhone you go to Settings ? Wi- Fi > Your wireless name > Configure DNS.
Run with it for a few hours, and when you’re happy, add another one or two devices. Then run just those devices as an extended test.
When you’re happy, not just with what is being blocked, but also how to block/allow sites (covered below), change the DNS settings on your router.
When you do go live with this, if blocking is important to you, consider a second Raspberry Pi with Pi-hole running on there too, as a backup. The downside to this is that it’s two configurations to maintain.
Also, set your current internal DNS (usually your router) as a secondary or tertiary DNS server, as a backup.
View Pi-hole and device stats and details
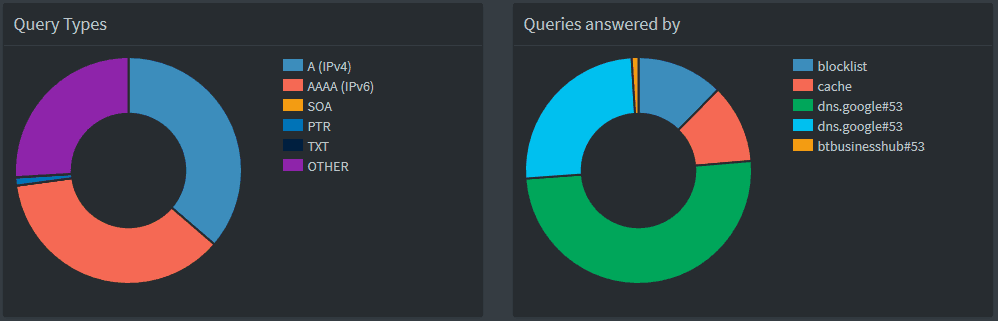
Now you have some devices using Pi-hole as your DNS servers, you can see a clear picture of how much of your traffic is now being blocked, initially via the dashboard.

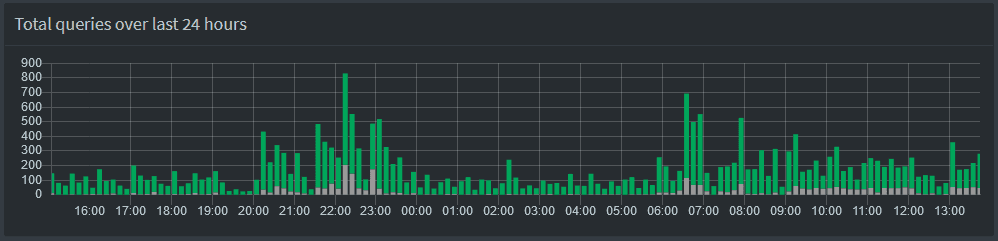
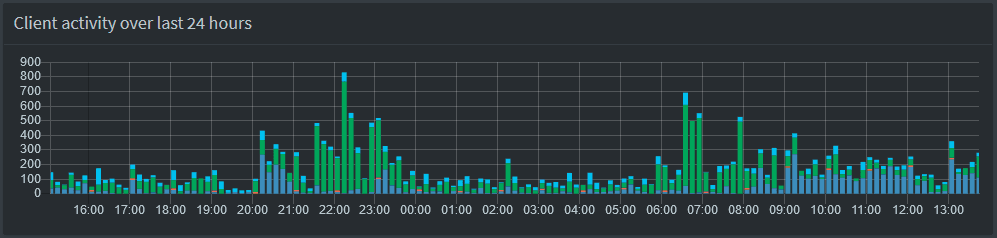
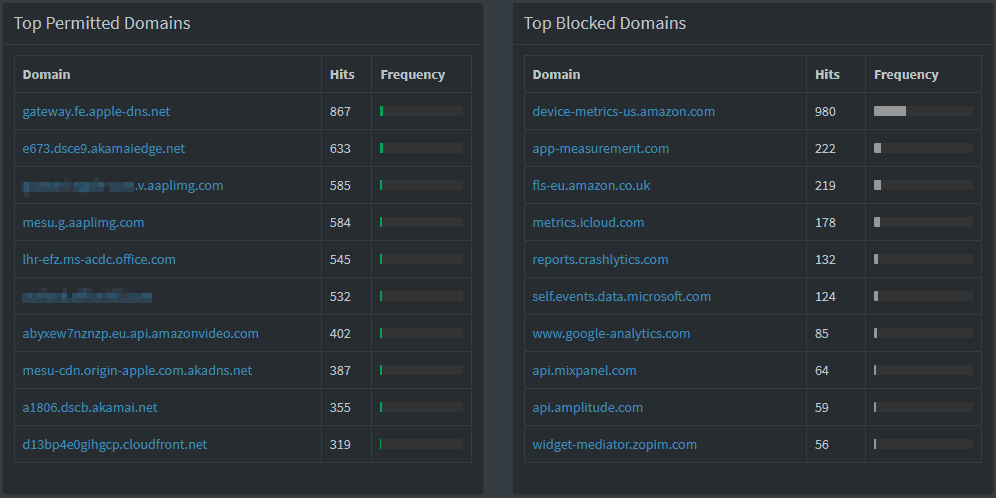
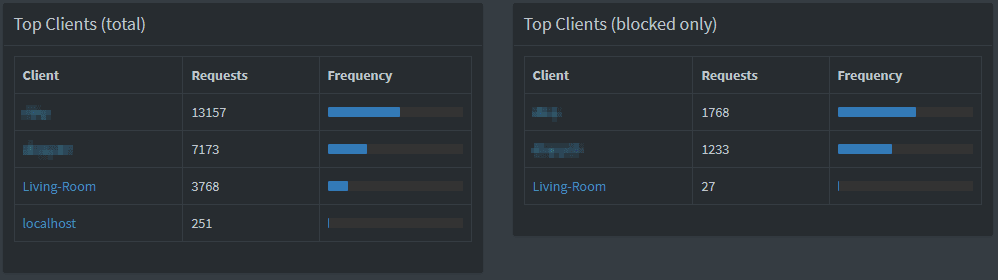
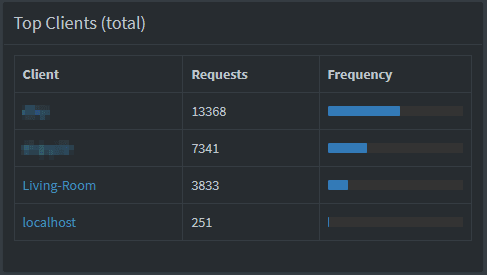
The graphs and lists are interactive, so if you click on them, it will drill down on your data. How I find this most useful, is to click on a device, particularly if you are finding some sites don’t work properly, and then you can see what was allowed / blocked.
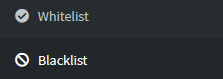
The below shows both a blocked and allowed entry. If you wish to change either, just click the ‘Whitelist’ / ‘Blacklist’ button at the end of the row.

Blocking / allowing sites in Pi-hole
There are multiple ways to block/allow sites, but the most useful way I find, especially with blocking sites, is to view what a device has access recently. For example, this is how I blocked the adverts on ITV Player, or ITV Hub as it’s now called:
- On my iPad, I opened ITV Hub, selected to view a program and was greeted with adverts.
- I stopped playing them, and selected my device in Pi-hole to see what use used.
- Opened the Pi-hole admin area, and selected my device.
- Searched through the list for ITV, and blocked the ones that looked Ad related. itv-ads.aimatch.com was one URL, along with the below.

- Opened ITV Hub again, select a program to watch an there are no ads.
If you block too much, or not enough, you can alway manage the white and black lists directly.

Backup Pi-hole
Now you’ve gone to all that trouble setting up Pi-hole, it’s important to take a backup. To do this, navigate to Settings > Teleporter and click ‘Backup’.
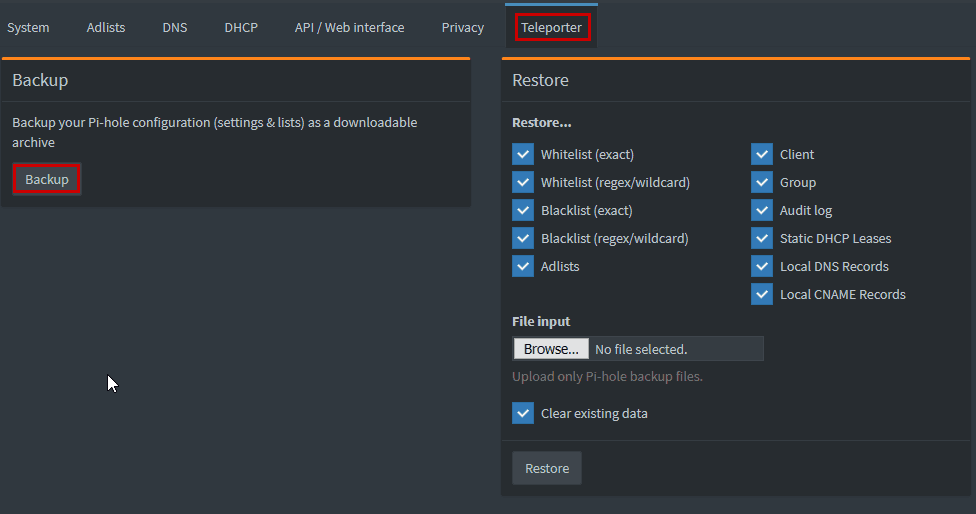
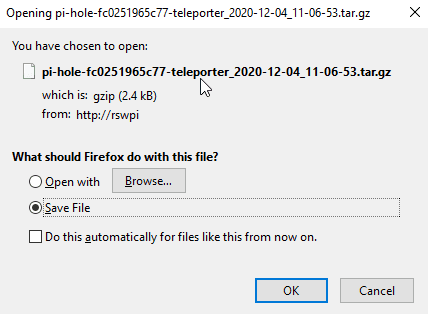
A file download will start. Make sure you save it somewhere safe, and appropriately name the file.
Why am I seeing only 1 client – localhost? I can’t seems to get other clients in this pi-hole. Tested specifying the pi-hole IP as in the DNS section of one other client but it did not show up at pi-hole. Am a little confuse even after following the above ‘How to configure Pi-Hole’ instruction.
This will be because your devices don’t have the pi-hole server set as the DNS server. You can set this manually on the device, which I would recommend first, for your testing.