If you need to test something, but don’t want to risk changing or damaging your existing Windows installation, then you can utilise something called Windows Sandbox. This basically creates an isolated sandbox machine, which is automatically disposed of when you’re done with it.
To get started, follow the below guide:
Windows Sandbox Requirements
For Windows Sandbox to work, you need a Windows 10 Pro or Windows 11 Pro. Unfortunately you cannot use Windows Sandbox on Home editions of Windows
Windows 11 Sandbox Setup Guide
1) Make sure that you have enabled virtualisation in your computers bios
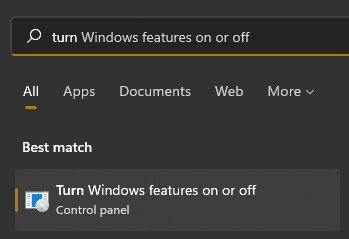
2) Click the start button, to open the start menu and search for ‘Turn Windows Features on and off’, and open it
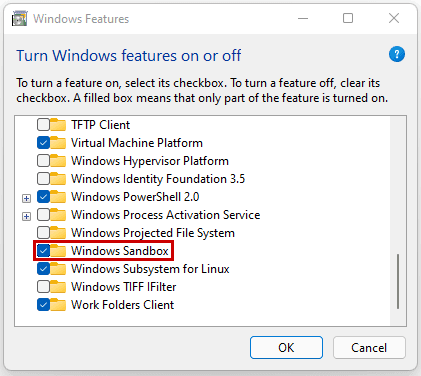
3) Find the ‘Windows Sandbox’ option, select it, and click ‘OK’
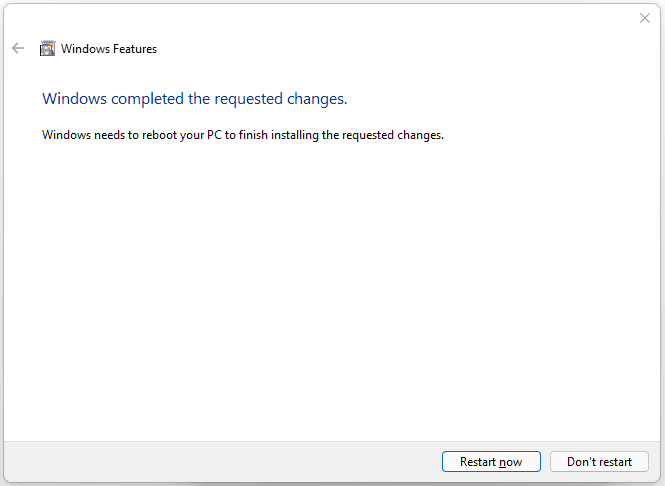
4) When the installation is complete, you will see the below confirmation. Please reboot your computer.
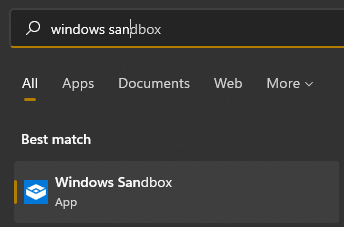
5) After your system has rebooted, click the start button, to open the start menu and search for ‘Windows Sandbox’, and open it
6) A sandbox machine will now be created, and open on your screen. Be patient though, it can take a few minutes
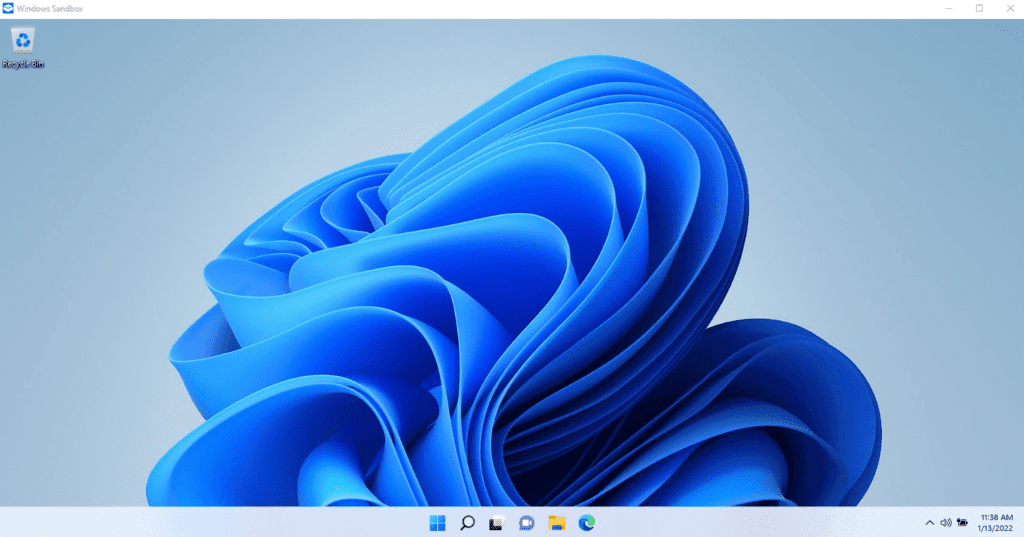
That’s it, you’re up and running with Windows Sandbox, on your Windows 11 PC.
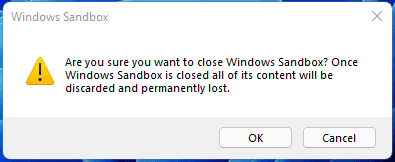
When you close the Windows Sandbox window, you will see the below message, warning you that all the contents will be deleted and is not recoverable: